How to Prepare Walls Before Painting – A Step-by-Step Guide
Painting your walls is one of the most effective ways to refresh your space, whether it’s your living room, office, or an entire property. However, the secret to achieving that flawless, professional finish lies in one essential step: preparation. At PaintWise, we know that properly preparing your walls can save you time, money, and ensure long-lasting results. Here’s our expert guide on how to prepare walls before painting.
PaintWise
1/10/20253 min read
Why Wall Preparation Matters
Skipping preparation can lead to paint peeling, uneven coverage, and a less polished look. Prepping your walls ensures that the surface is smooth, clean, and ready to hold the paint properly, giving you professional-quality results.
Step 1: Gather Your Tools and Materials
Before you begin, make sure you have everything you need:
Dust sheets or drop cloths
Painter's tape
Sandpaper (medium and fine grit) or a sanding block
Sugar soap or mild detergent
Filler or spackle for cracks and holes
Putty knife
Primer
A vacuum or soft brush for cleaning dust
Safety goggles and gloves
Step 2: Protect Your Space
Start by covering your floors, furniture, and any fixtures with dust sheets. Use painter's tape to mask off areas you don’t want to paint, like skirting boards, light switches, or door frames. Taking these steps now will save you from cleaning up later.
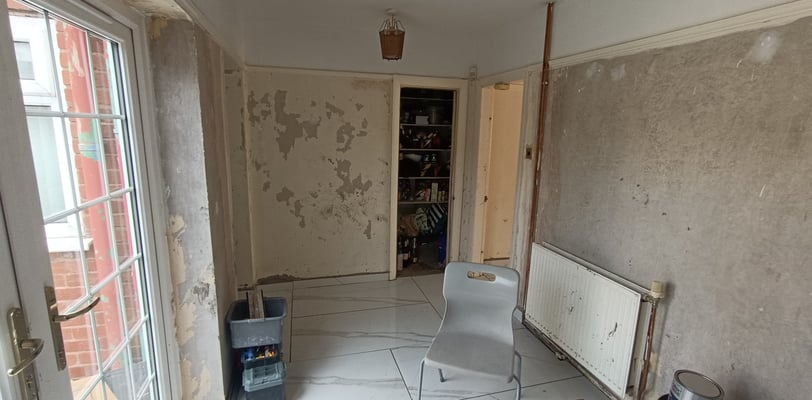
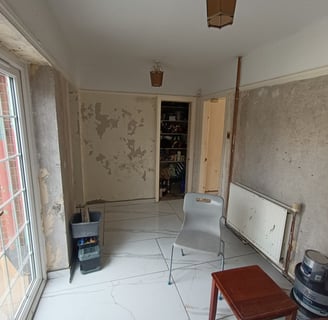
Step 3: Inspect the Walls
Carefully inspect the walls for imperfections like cracks, holes, or flaking paint. These need to be addressed before applying new paint to ensure a smooth and durable finish.
Step 4: Clean the Surface
Clean walls are essential for paint to adhere properly. Use sugar soap or a mild detergent mixed with warm water to remove dirt, grease, and stains. After cleaning, rinse the walls with clean water and allow them to dry completely.
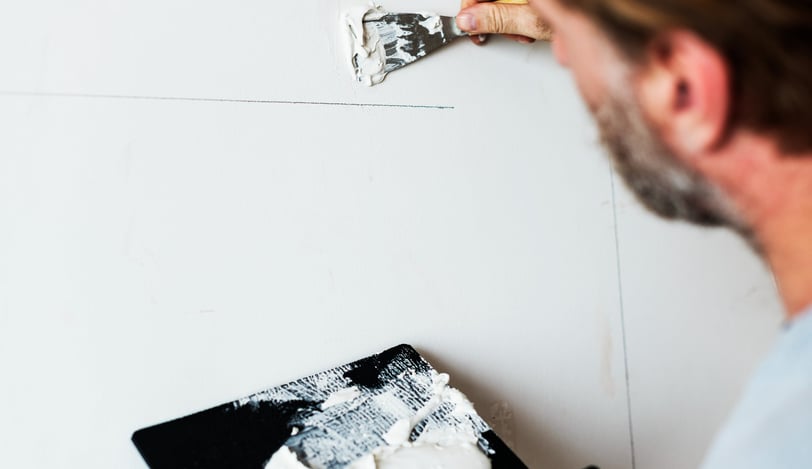
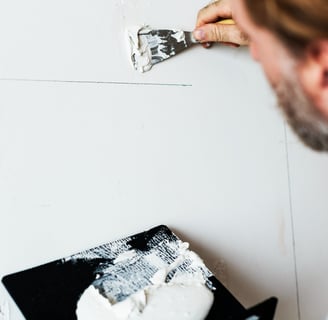
Step 5: Repair Imperfections
Fill Holes and Cracks: Use a putty knife to fill any cracks or holes with filler or spackle. Let it dry as per the manufacturer’s instructions.
Smooth the Surface: Sand the filled areas with medium-grit sandpaper until they are level with the wall. Follow with fine-grit sandpaper to create a smooth finish.
Scrape Flaking Paint: If there are areas with peeling or flaking paint, scrape them off carefully and sand the edges to blend with the surface.
Step 6: Sand the Walls
Lightly sand the entire wall using fine-grit sandpaper or a sanding pole. This step helps remove any old paint sheen, creating a slightly rough texture for the new paint to adhere to.
Step 7: Remove Dust
After sanding, clean the walls thoroughly to remove all dust and debris. Use a vacuum with a brush attachment or a soft microfiber cloth. Dust particles can ruin the finish, so don’t skip this step!
Step 8: Apply Primer (Optional but Recommended)
Priming is especially important if:
The walls are stained or discolored.
You’re painting a lighter color over a darker one.
The walls are made of porous materials like plaster or drywall.
A good primer will improve paint adhesion, enhance color vibrancy, and increase durability. Allow the primer to dry fully before moving on to painting.
Step 9: Double-Check Your Work
Before you start painting, inspect your walls again. Are they smooth, clean, and dry? If so, you’re ready to begin!
Extra Tips for Businesses and Homeowners
For businesses: Proper preparation is critical for high-traffic areas, ensuring your walls maintain a professional appearance for years to come.
For homeowners: If you’re tackling a DIY project, remember that good preparation is half the job done. Or, hire a professional to guarantee a perfect finish.
Why Choose PaintWise for Your Painting Needs?
At PaintWise, we take pride in our detailed preparation process to ensure top-quality results for every project. Whether you need help with wall repairs, priming, or a complete painting service, our team of experienced painters is here to help. Plus, our free online calculator at paint-wise.co.uk makes it easy to get an estimate for your project!
Final Thoughts
Proper wall preparation is the foundation of a successful painting project. By following these steps, you can achieve a flawless, long-lasting finish that looks professional. If you’d rather leave it to the experts, PaintWise is here to help transform your space with ease. Contact us today or use our free calculator for a no-obligation quote.

© 2024. All rights reserved.
Frequently Asked Questions
1. How does PaintWise work?
PaintWise simplifies painting and decorating! Start by using our free online price calculator at paint-wise.co.uk to get an instant project estimate. Once you submit your request, a member of our team will contact you to finalize the quote. After your confirmation, we’ll assign the most suitable professional painter from our network to your project. Thanks to our extensive team, we can often start within 24 hours of confirmation. Our team is here to assist you throughout the process, Monday to Friday, 8 a.m. to 5 p.m.
2. How can you price my order without visiting the property?
With years of experience and in-depth market research, we’ve developed an accurate pricing system. If you provide all the necessary details about your project using our calculator, we can price your job correctly 95% of the time.
3. How do you ensure high-quality results?
At PaintWise, we pride ourselves on delivering outstanding finishes. We work exclusively with experienced, professional painters who meet our rigorous standards. Customer feedback is key to maintaining our quality, and we continuously review our team to ensure we deliver excellent results every time.
4. When and how do I pay?
You only pay after the job is completed and you are fully satisfied with the results. We can be paid by cash or we will send you a payment request via email, which can be settled securely through bank transfer.
5. Are materials included in the price?
Yes, all essential materials like brushes, rollers, masking tape, and protective sheets are included in our pricing. Paint is not included, but if you choose the option
"Paint cost + delivery", the painter who will contact you will confirm what colors you wish to use and bring them to the job.
6. Do you provide cleaning after painting?
Our painters will ensure that your floors, furniture, and fixtures are protected with dust sheets during the project. Once the job is done, they’ll remove dust sheets and tidy up materials. While we aim to leave your space clean, please note that some minor dust or marks might remain. If you require a spotless finish, consider hiring a professional cleaning service.
7. What areas do you cover?
We are based in Skelmersdale and Warrington, and we proudly serve the following areas:
Burscough, Ormskirk, Rainford, Parbold, Rufford, Croston, Eccleston, Heslington, Wigan, St. Helens, Southport, Appley Bridge, Orrell, Lathom, Billinge, Lowton, Ashton, Haydock, Newton-le-Willows, Knowsley, Kirkby, Maghull, Liverpool, and Warrington.
With larger projects we cover whole Lancashire and Cheshire